Room Design Update [3]

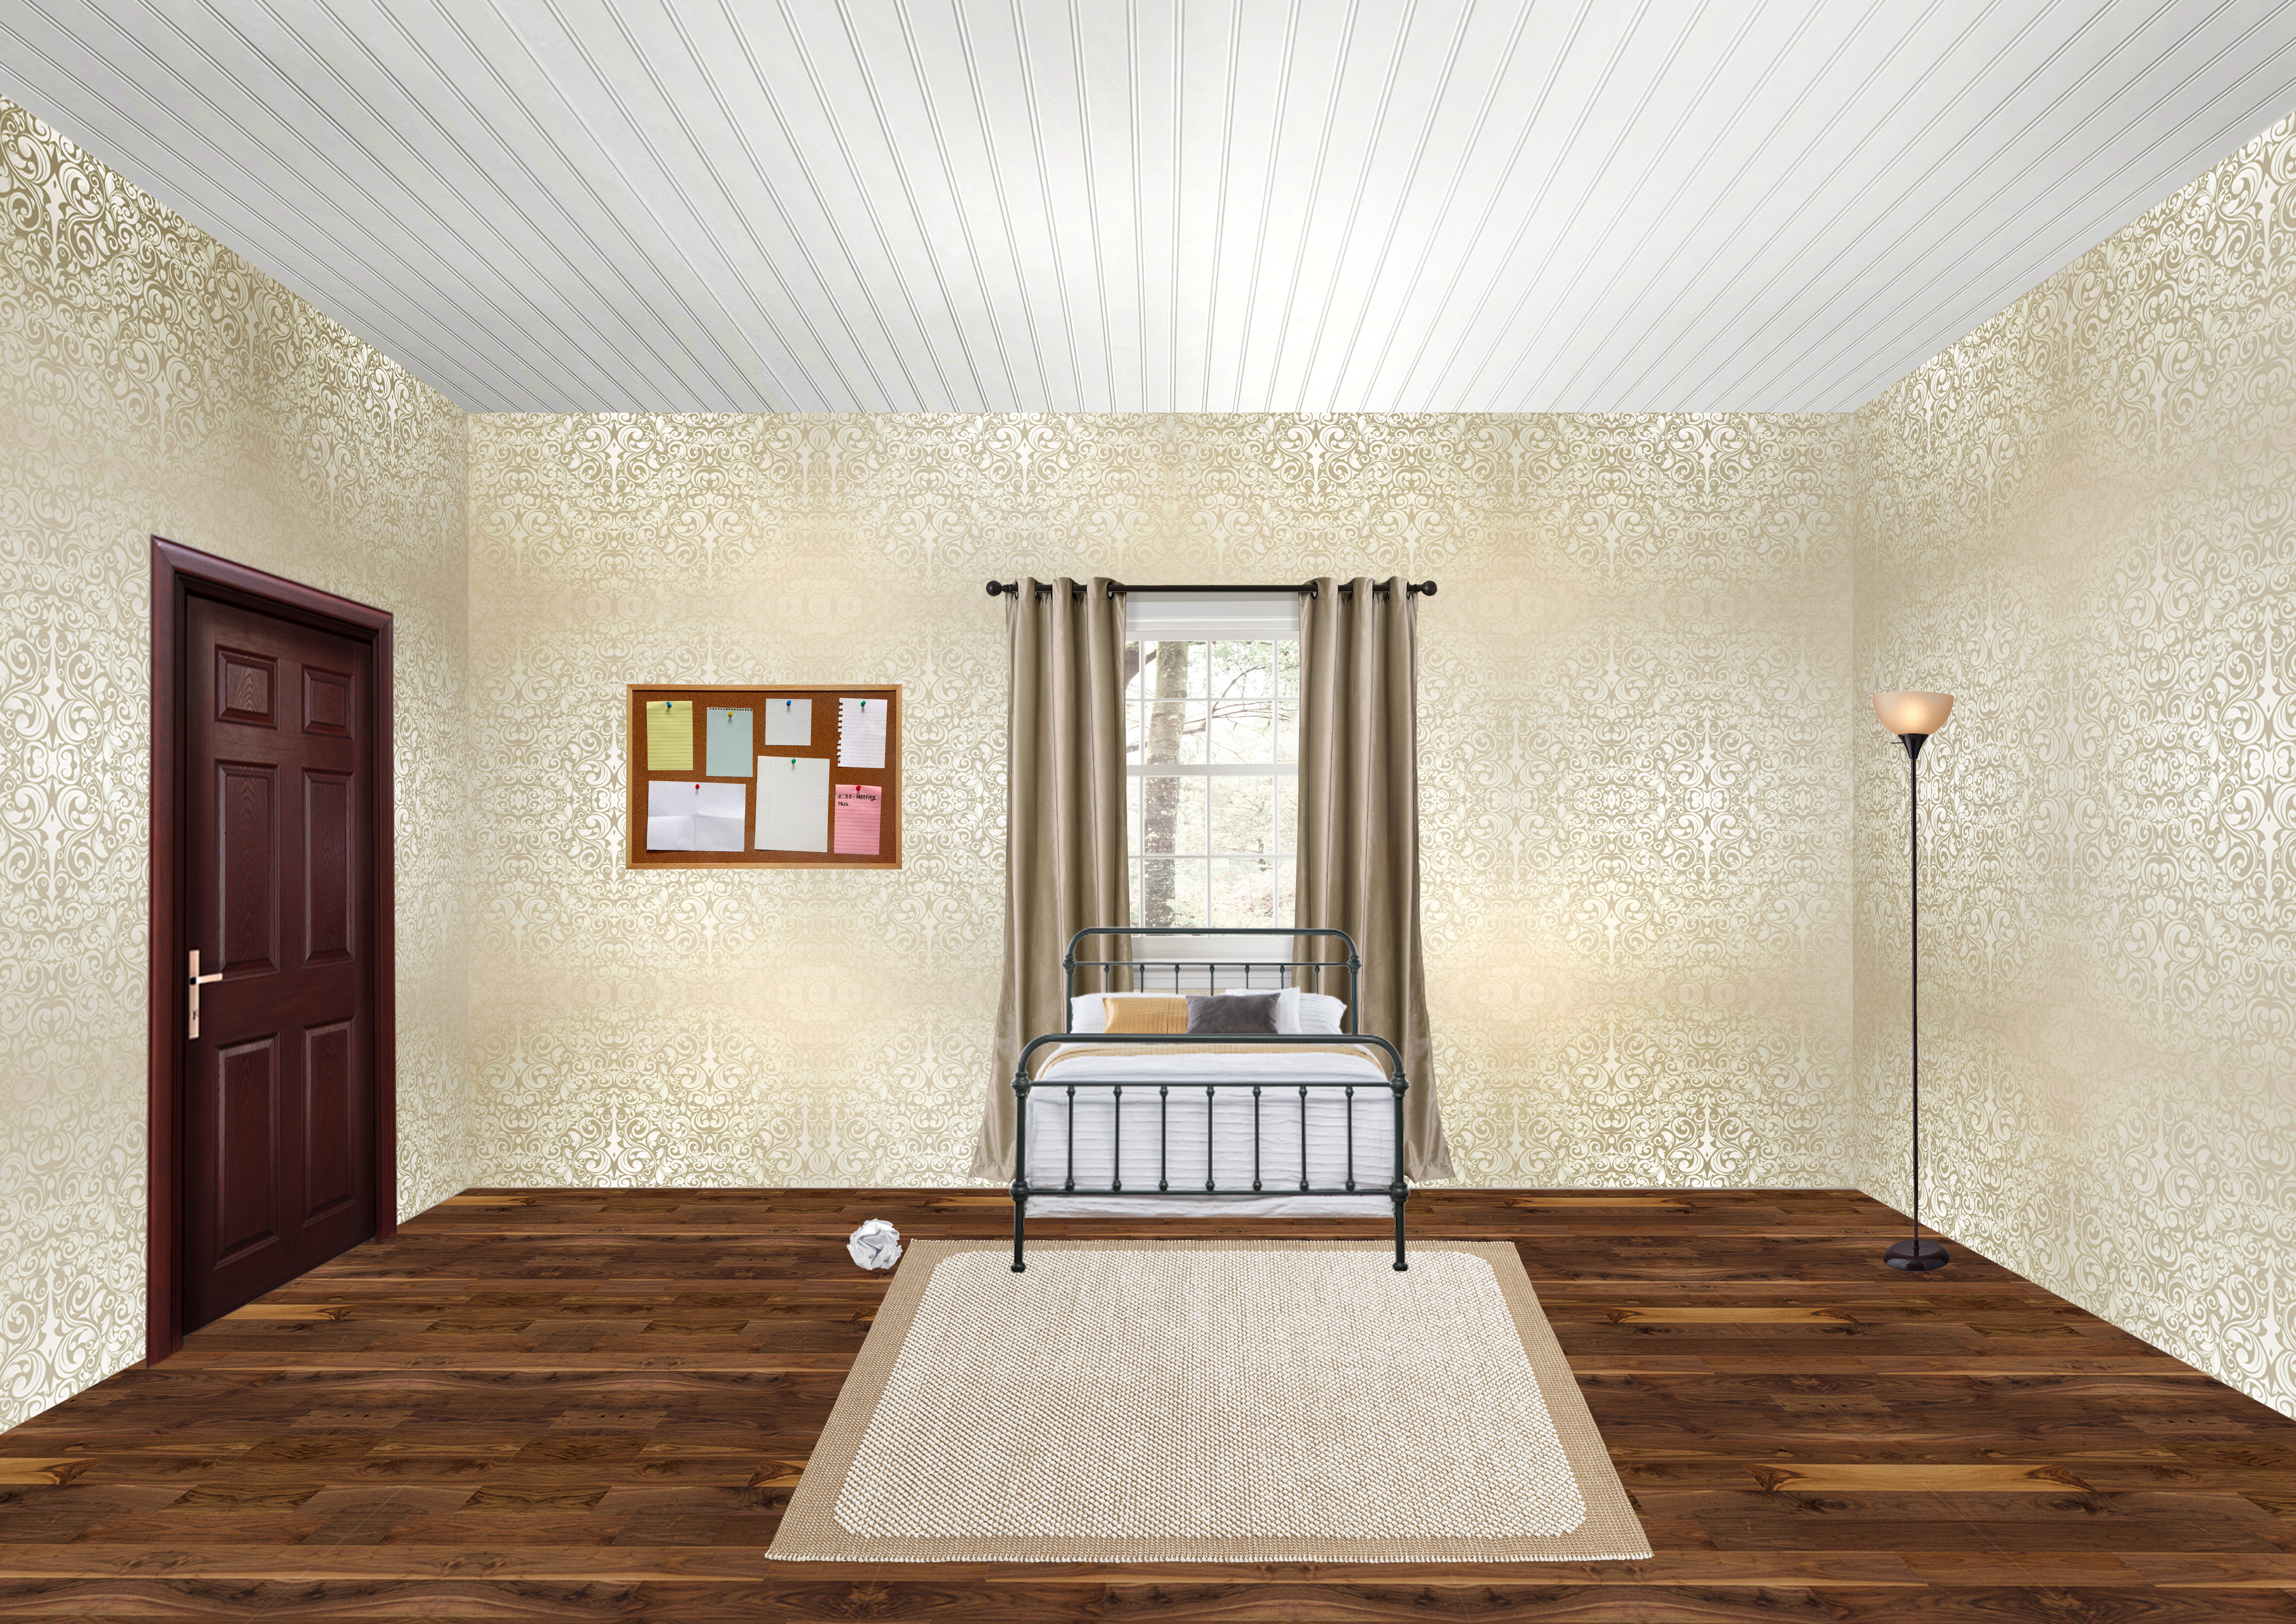
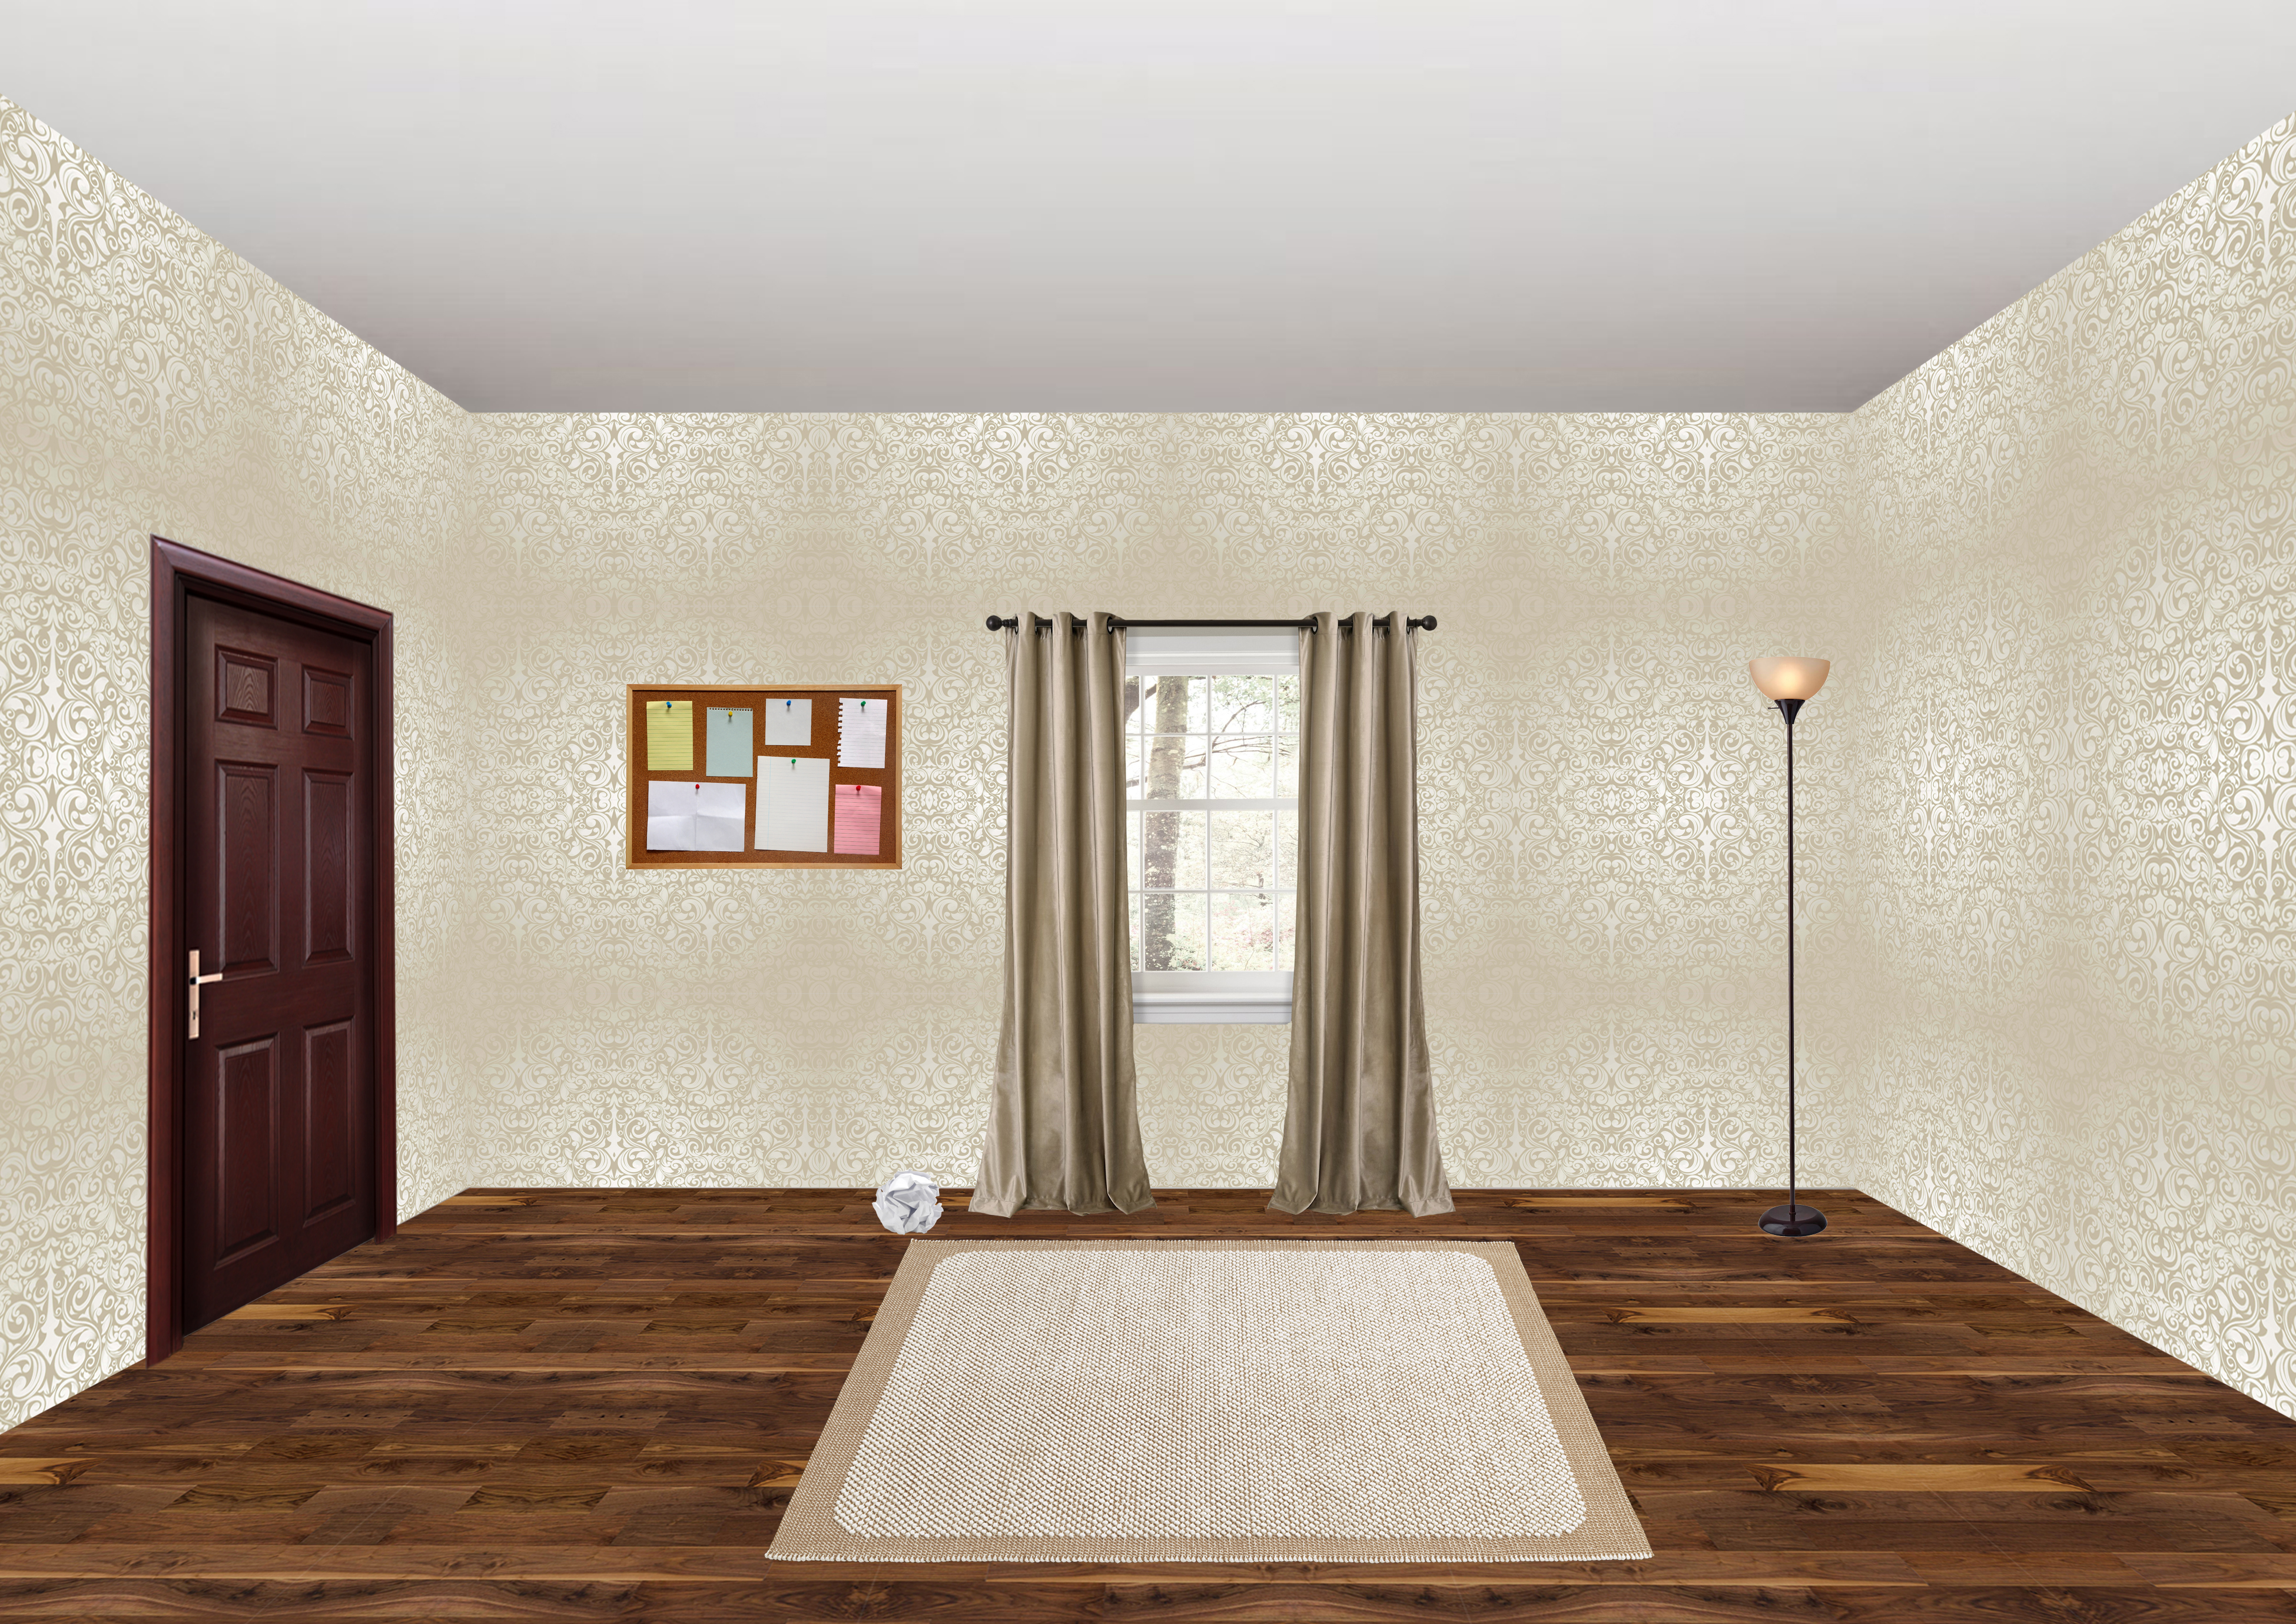
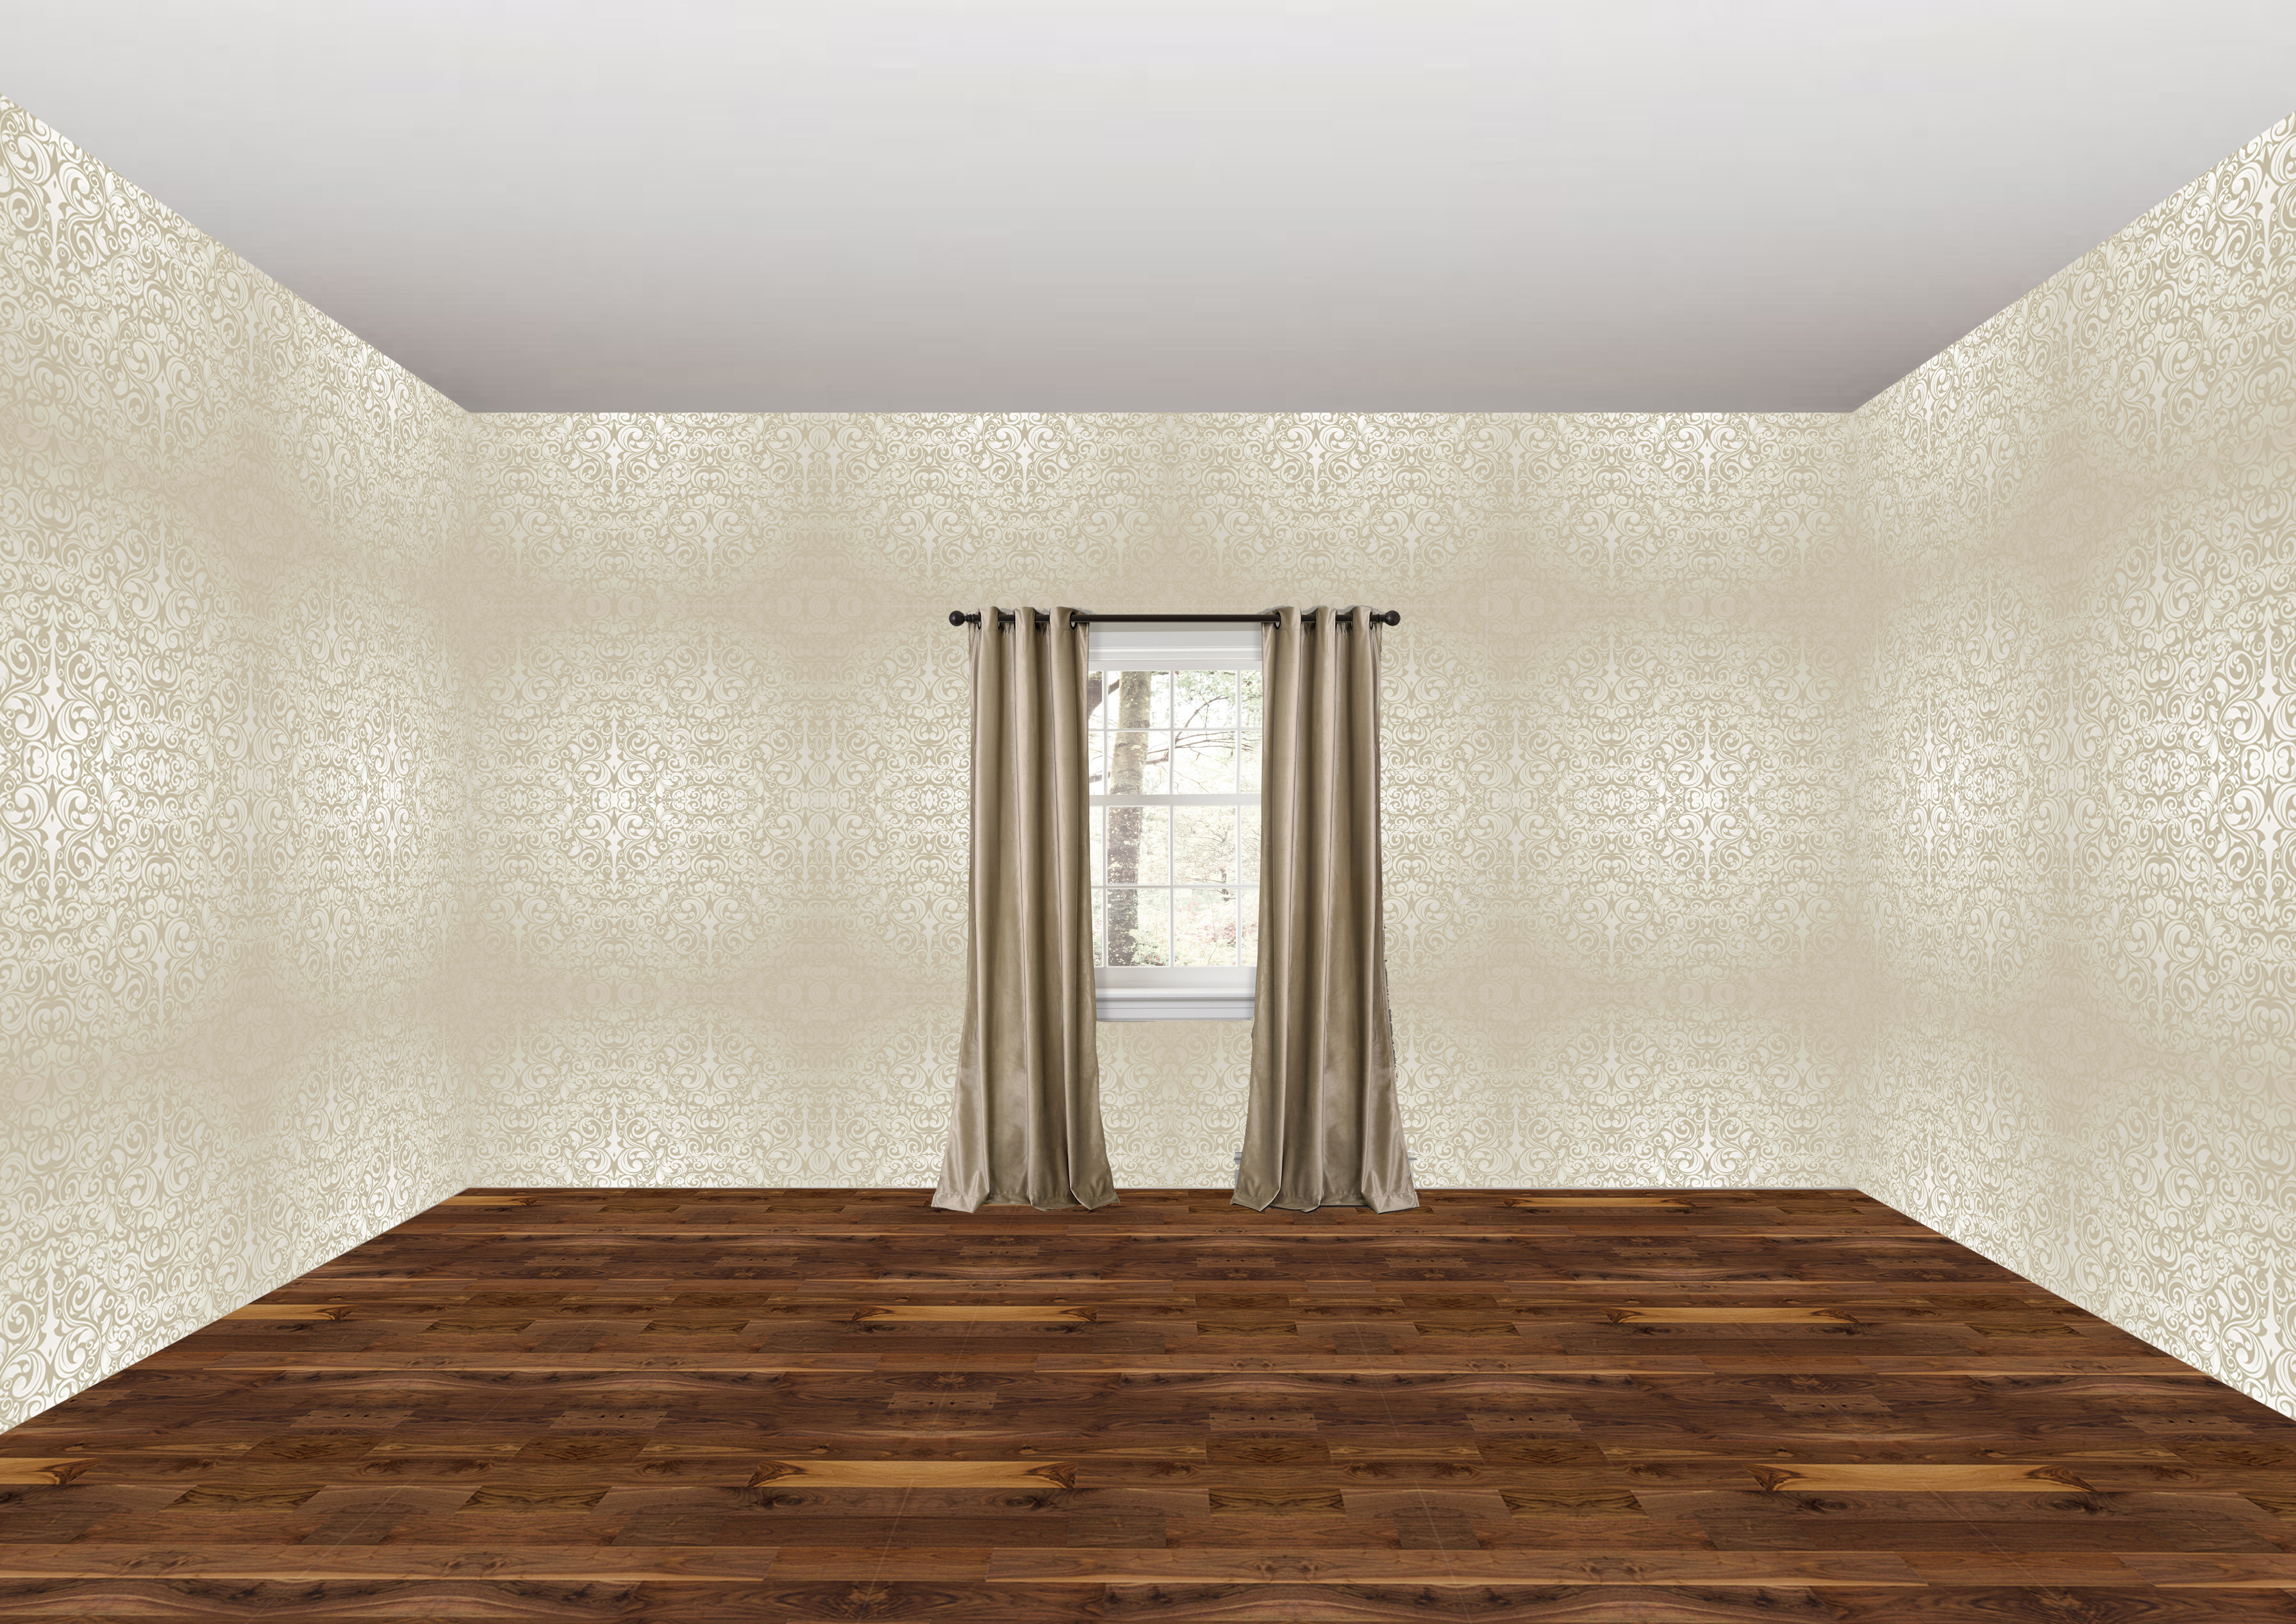
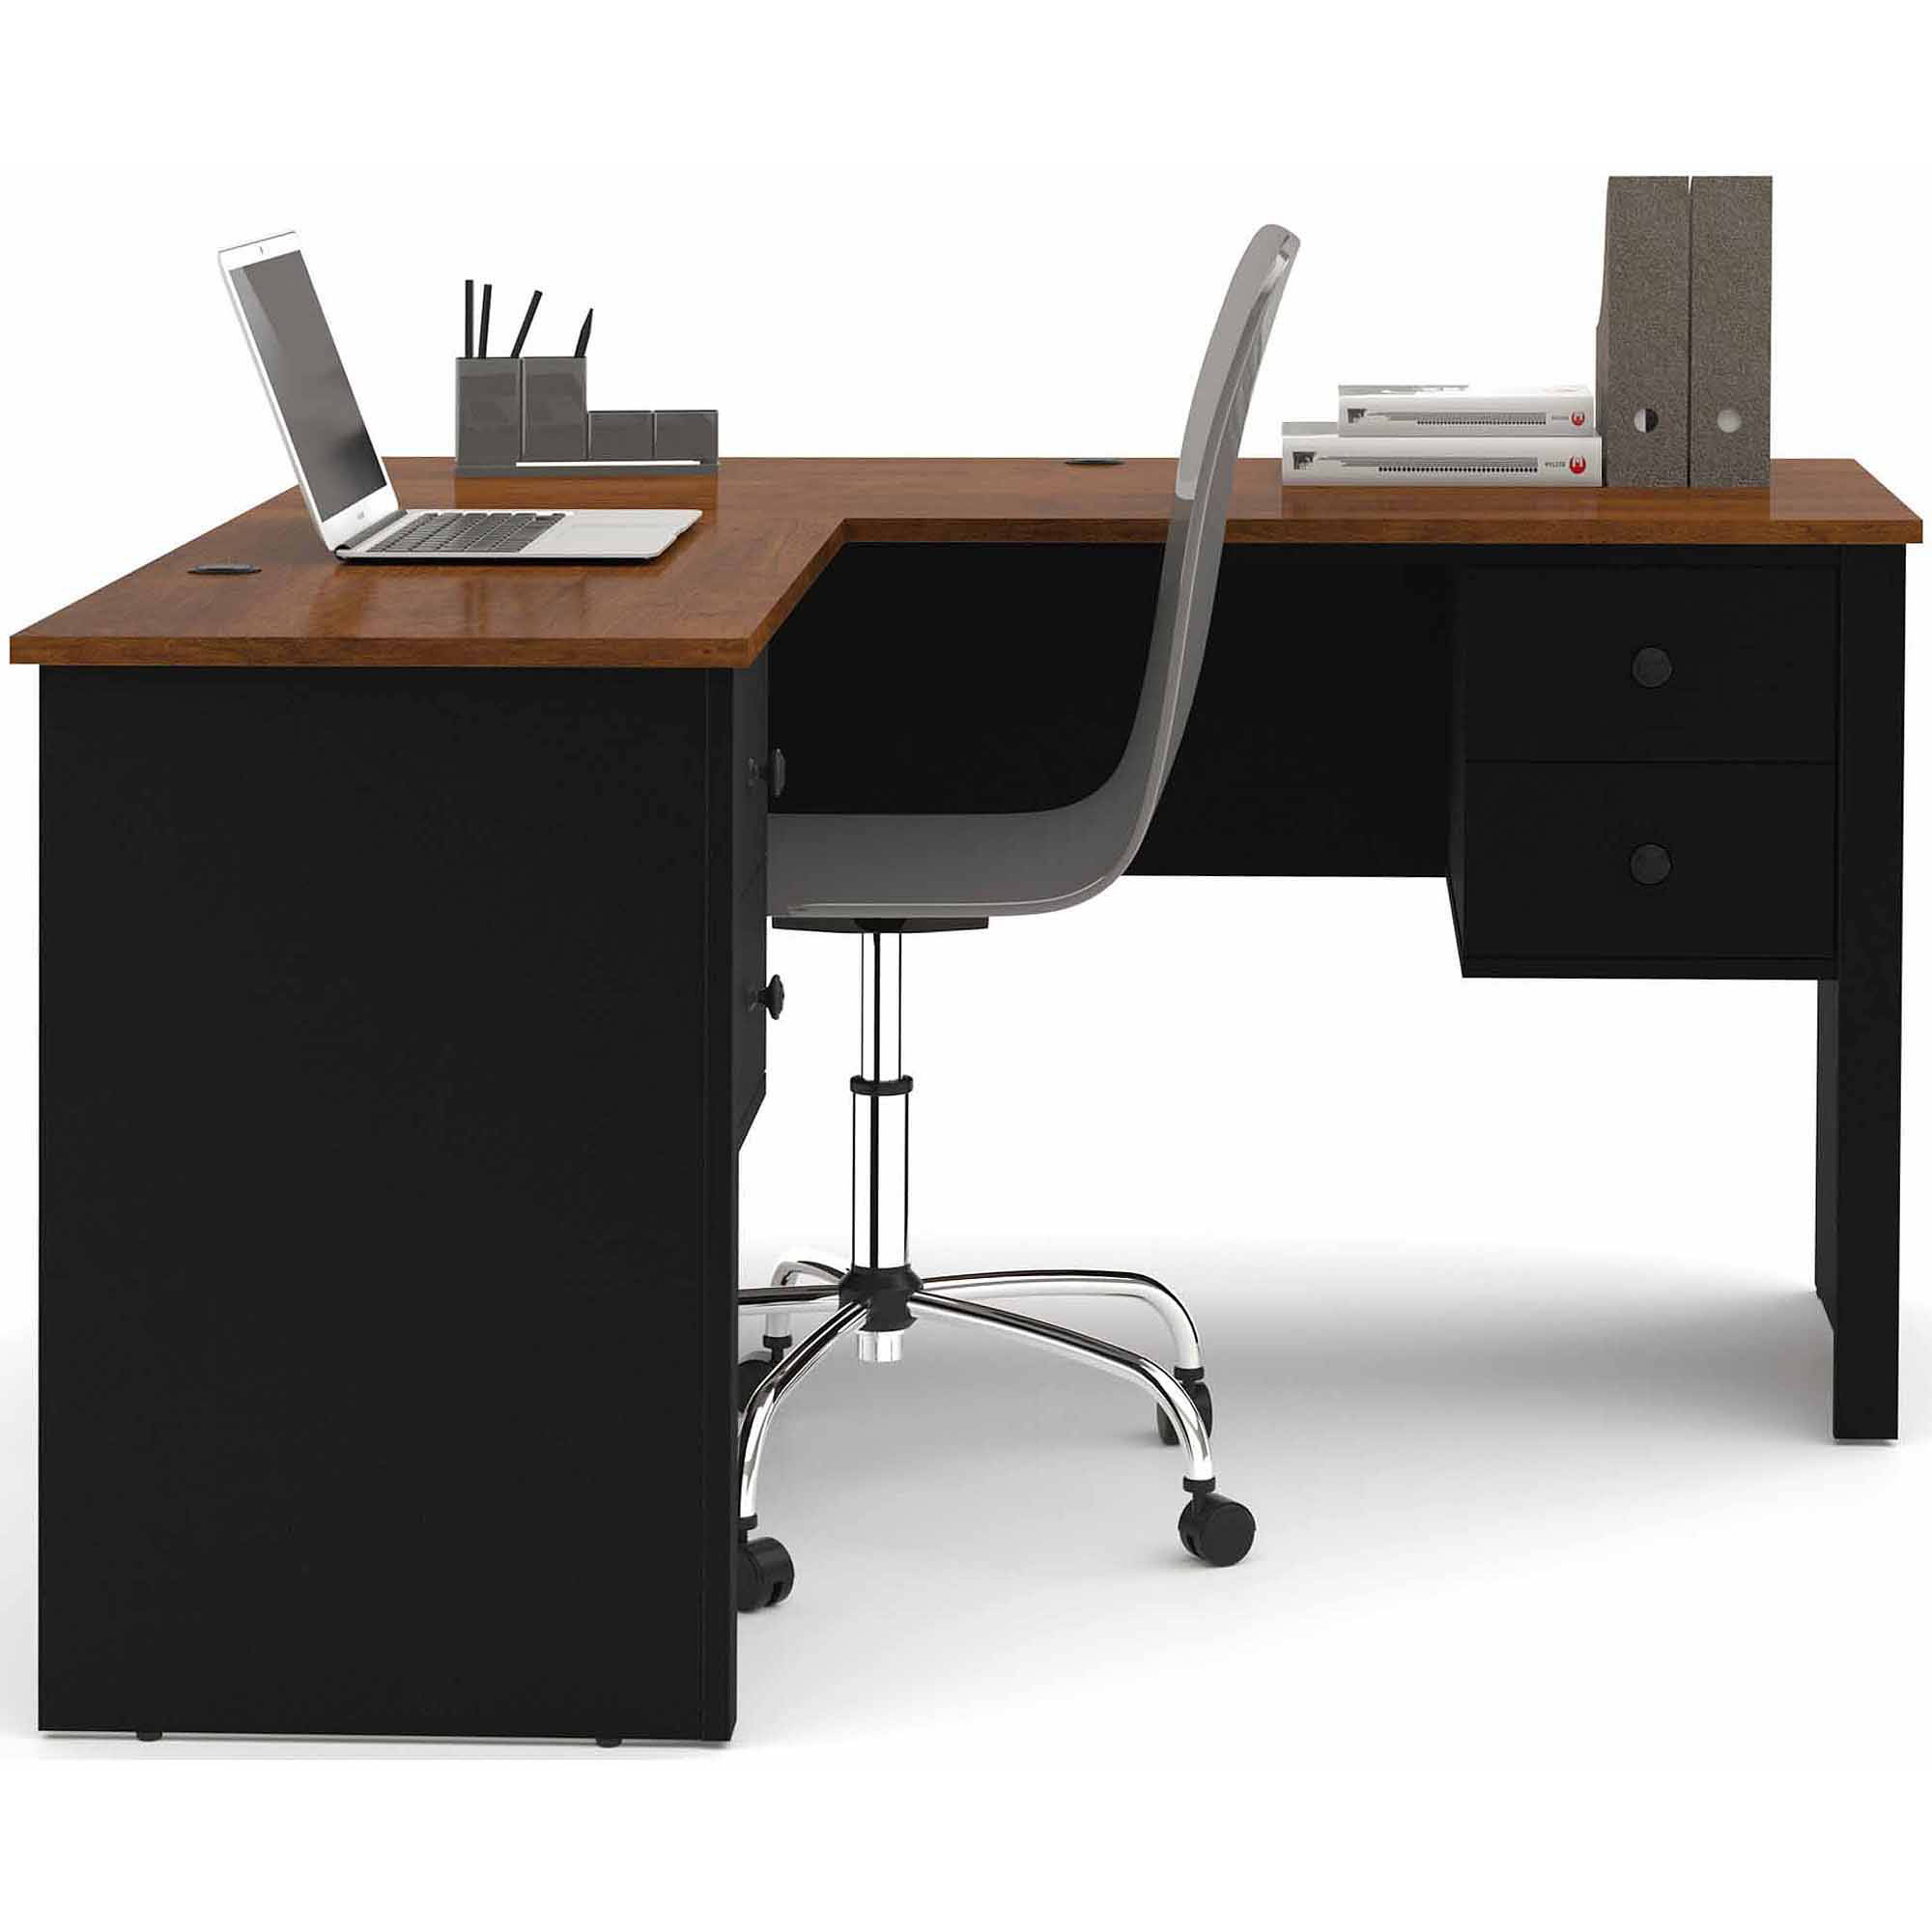
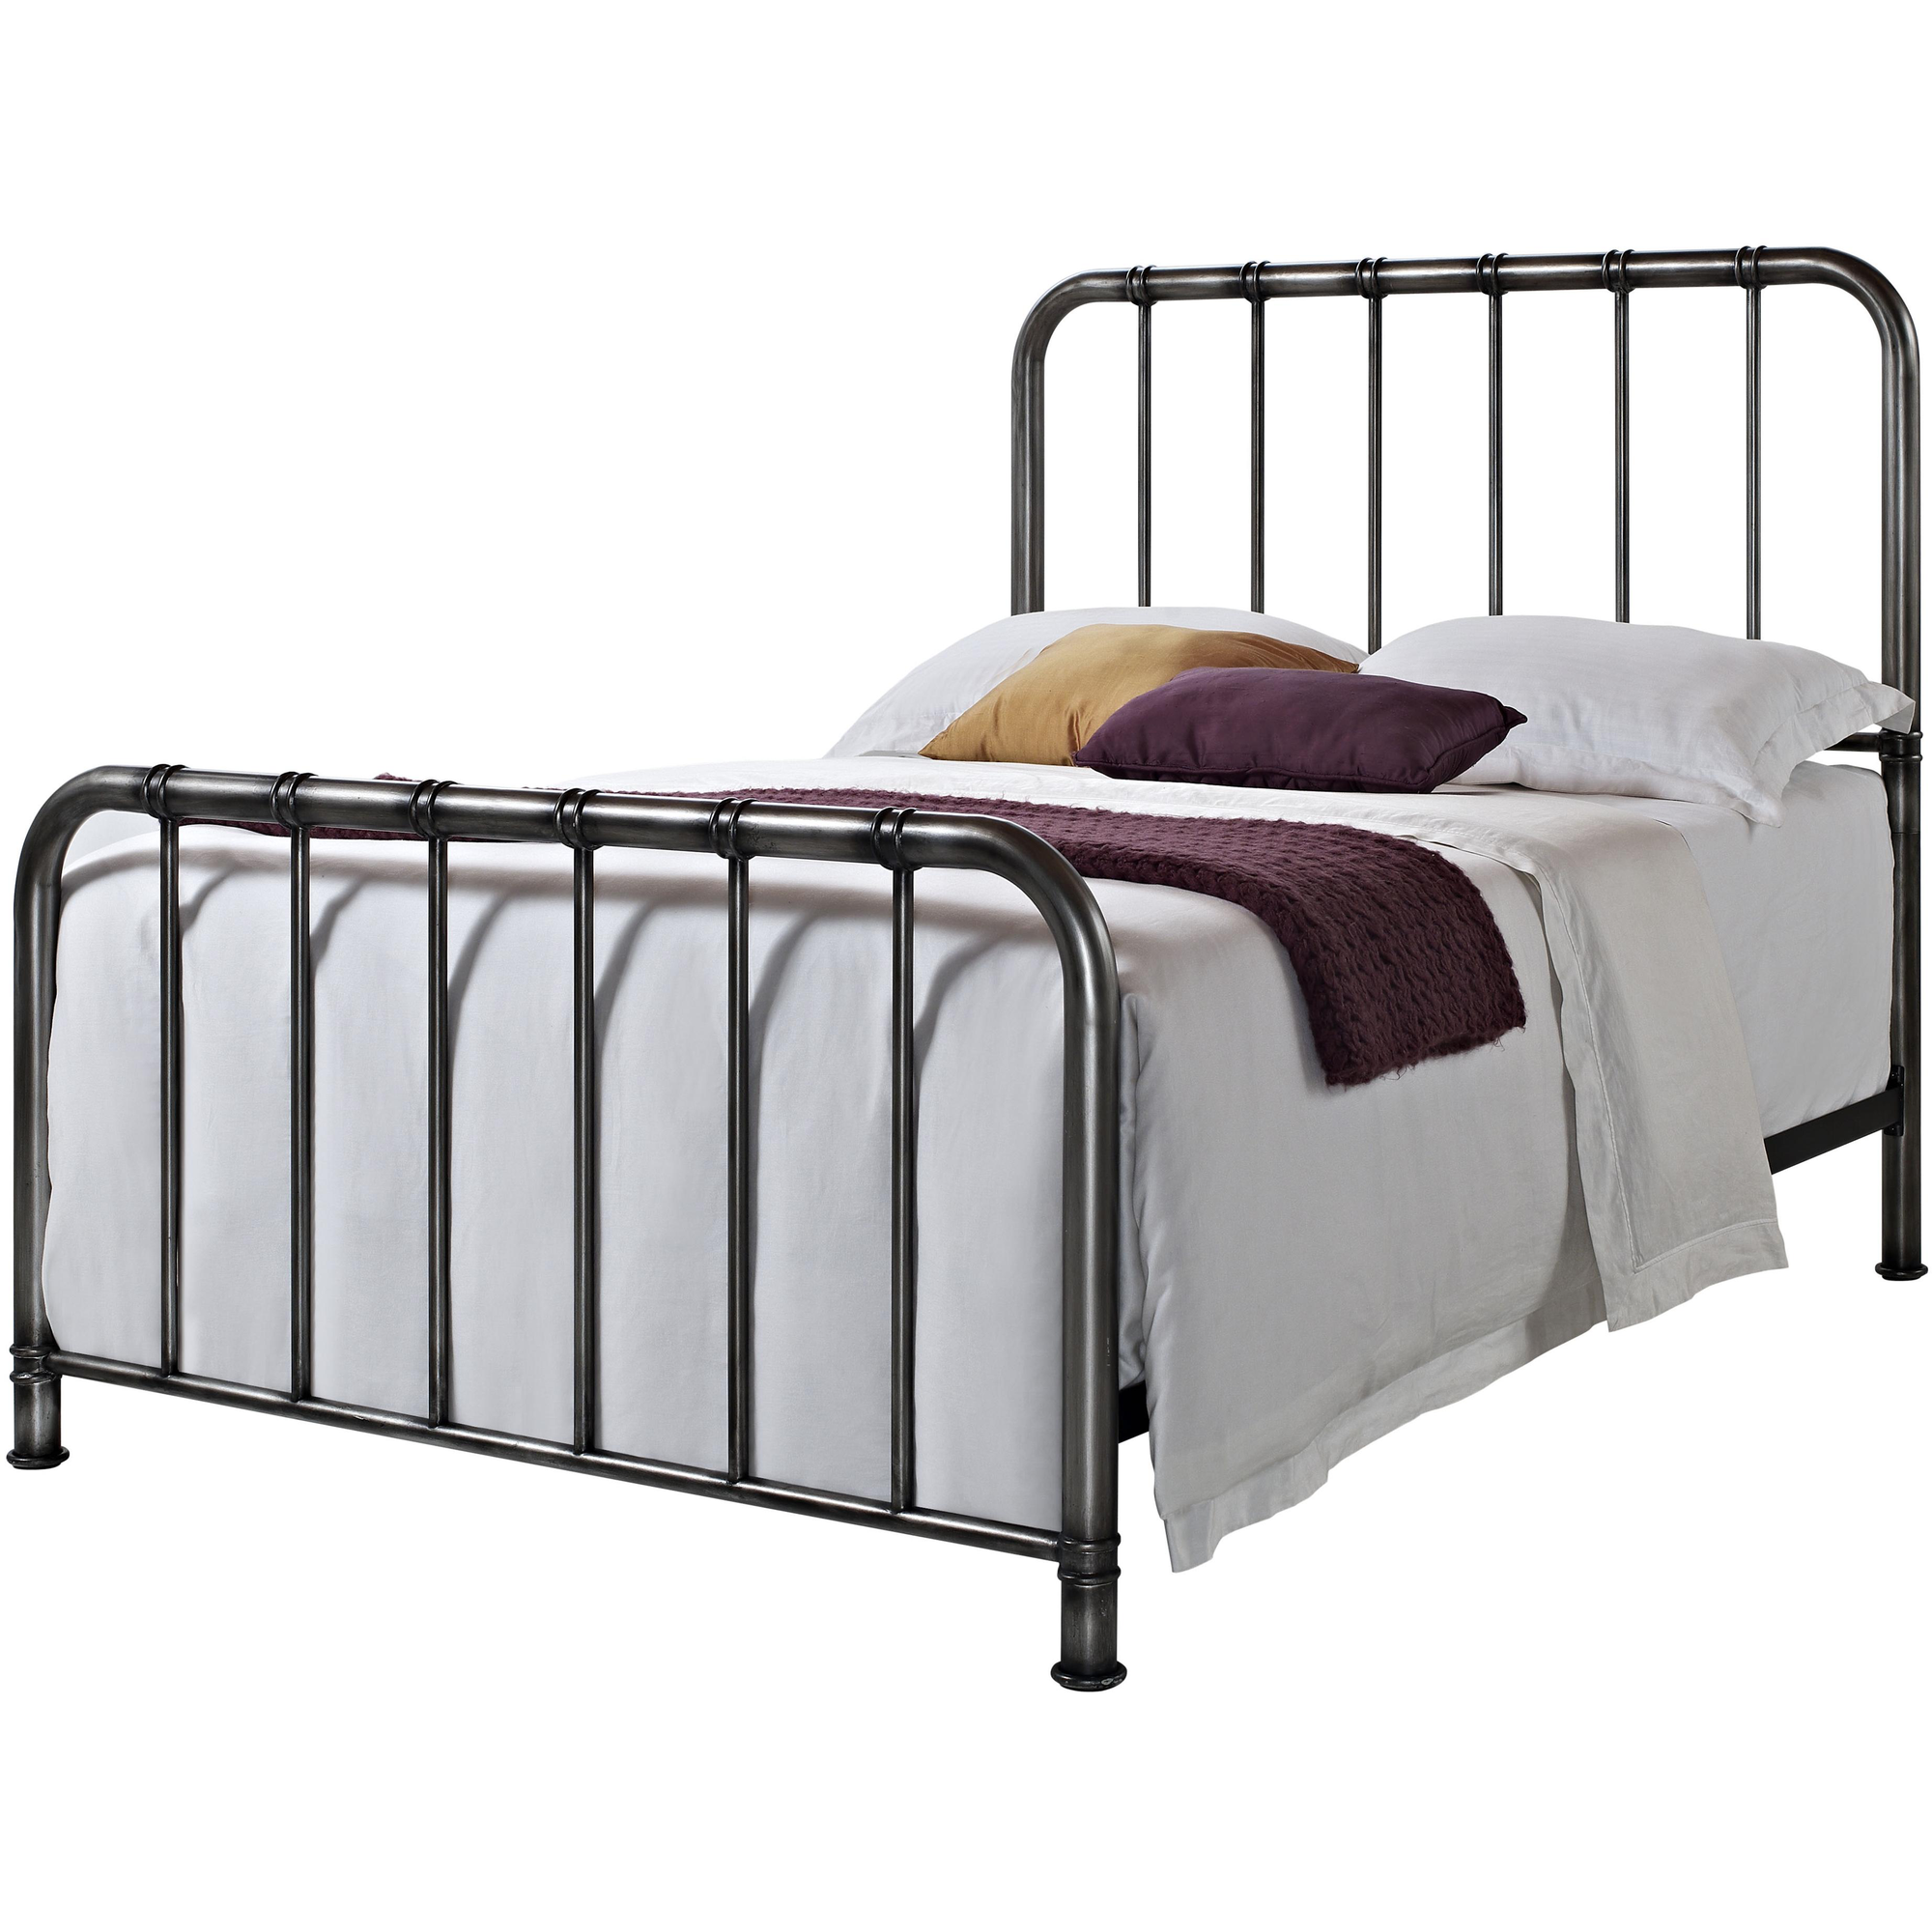
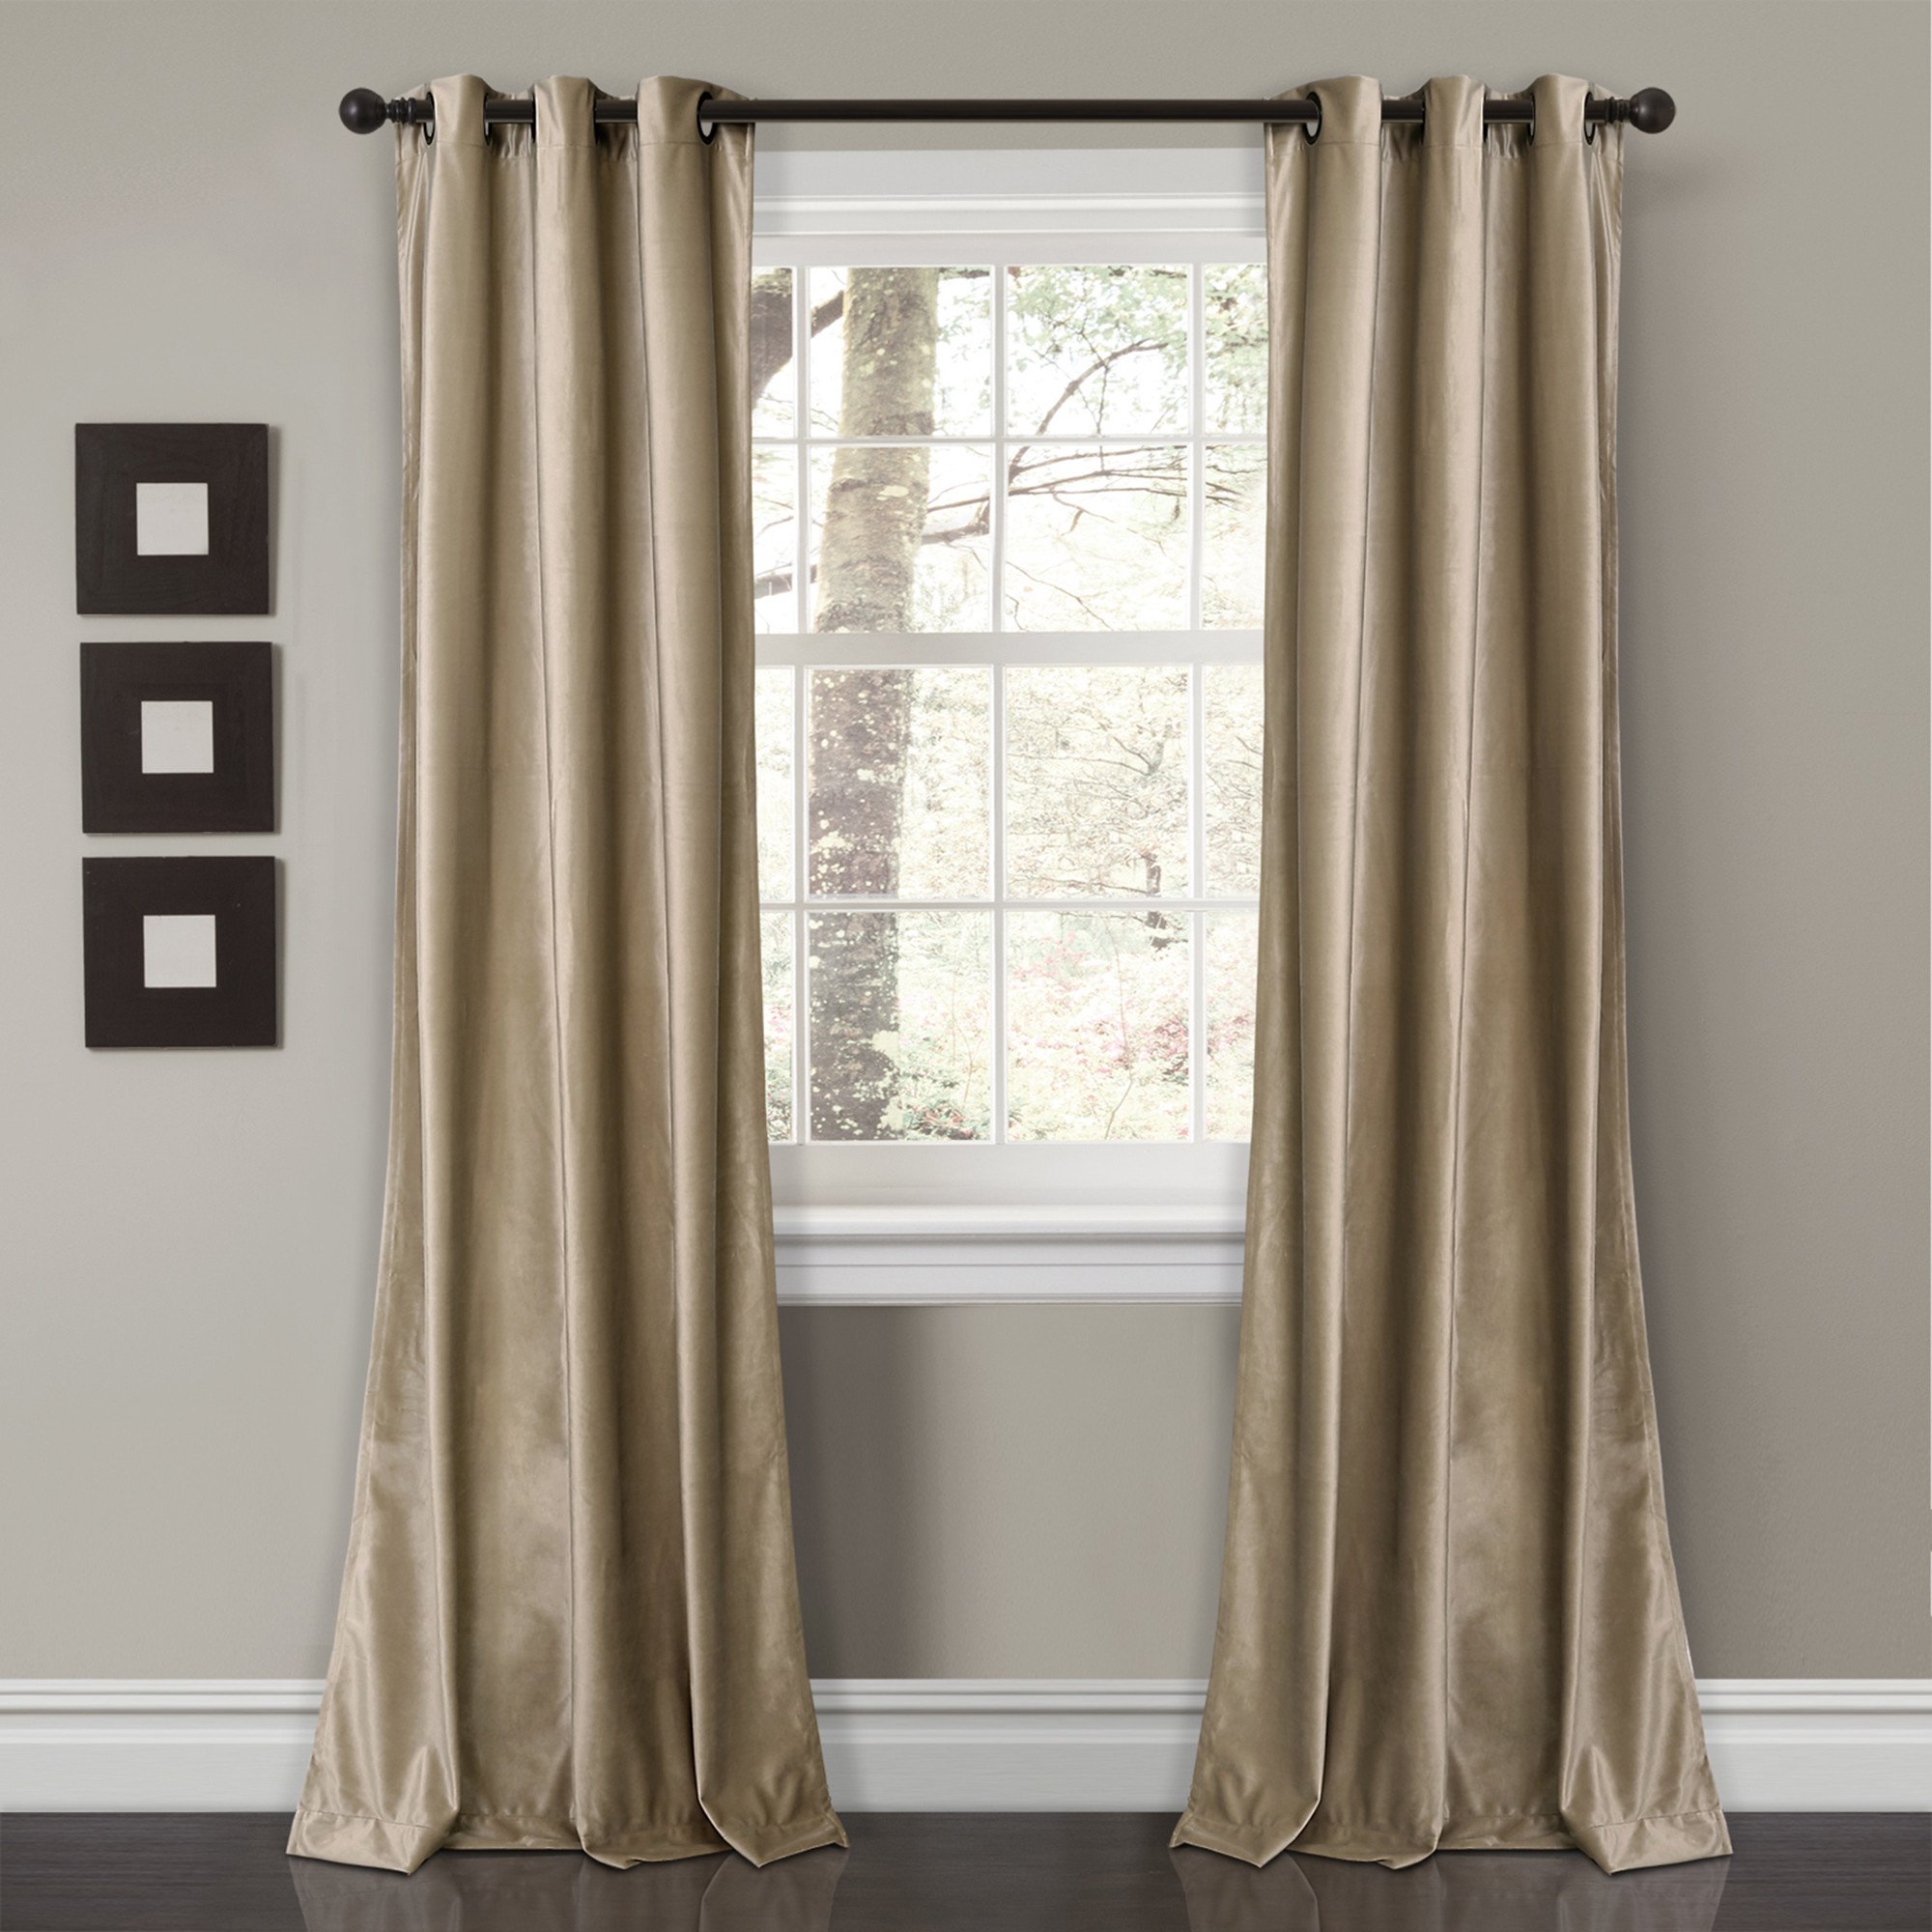
Today when I did a critique with my partner I didn’t get much feedback besides to adjust the window so that it sits higher. So, I adjusted the window and continued working on what I was doing. I found a ceiling, although I’m not sure how it will look in the end when everything is done. I also came to the conclusion that I don’t really like the wallpaper, so next class I’ll change that. I’m also still struggling with finding a good bed and desk that will fit.

Room Design Update [2] / Celebrity Pop Art Update [7]

Today I’ve done a bit of interior for the dorm room I’m creating. I did some layout on how I want things to look. I finished erasing the window and placed the door, rug, pin board, and lamp. I decided that the photos of beds I chose don’t really fit how I want it to look, so I started searching for bunk beds, or even just a bed that’s in the front view perspective.

I also finished the blue version of my celebrity pop art and began working on a green version. So, so far I’ve completed 2 versions and I’m working on my third.

Room Design Update [1]

I began adding the walls and floor to my dorm room. I struggled for a while with the floor, as I tried to make it look even and realistic, but I think I got it. I added wallpaper and a window. I haven’t found a ceiling yet that Is in perspective and looks decent enough to add. So I will just go about added the interior while searching for a good ceiling. I added a window, although I’m not done erasing.

PROGRESS

1 Point Perspective Room Design Proposal

For my room design project I want to make a bedroom that kind of portrays the life of a busy person. Maybe it takes place in the city and the person who occupies the room is a college student. Or maybe they are just a person who is busy studying for work or school. I don’t have every single piece of detail or photo yet, but I have the idea prepared.

Celebrity Pop Art Update [6]

Today I’ve gone back to the blue version of my pop art project and done some more smoothing out. I have also gone back to to my pink version and done some more there too.

I feel like this is taking longer than I planned because I’m trying to perfect everything. The reason the smoothing process is taking long is that because the color that your see in the photo is king of layered on top of the gray scale. What I think is happening, is that since the gray scale is underneath the colored layer, I can still see some of the gray peeking through, which isn’t what I want. So I’m spending a lot of time on cleaning that up and making it look more sharp.

I’ve added a light pink background. I cant say this is my finished product because there are a couple of spots that need to be retouched, her hair strands being the most obvious.

Celebrity Pop Art Update [4]

I have finally finished smoothing out my photo and got rid of anything that looked off and began added some color. Last class I would’ve started adding some color, but there was something wrong when I tried to add color. It’s fixed now. I chose a color scheme of pinks and reds for my first one . I’m not done yet though. Next class I plan to clean it up and not make it look so rough on the edges.

(what I’ve done so far)
(color scheme)

Celebrity Pop Art Update [3]

I think I’m finished with the smoothing process. I began to try and add some color to the photo but I experienced some complications. When I tried to use the wand tool to fill in with certain areas with color, it wouldn’t select what I wanted it to select. I’m not sure what the problem is. I have chosen one of the range of colors I plan to use though.

Celebrity Pop Art Project Update [1]

This class I continued smoothing out the photo to make it look neater. I haven’t finished, the the farthest I’ve gotten is smoothing out her face, hair, and only a little bit of her clothing. I hoped I would’ve finished this step by this class which I didn’t. But I definitely, or hopefully, will be done by next class. I’ll pick up with her clothing.